OSPool User Registration
The OSPool is a computational resource available to any researcher affiliated with a project at a US-based academic, government, or non-profit institution. This page covers registration and startup with an access point operated by OSG and attached to the OSPool.
To get access to the OSPool, you will:
- apply for an account,
- meet with a staff member for a short consultation and orientation, and
- upload your SSH key for simplified logins.
Get an OSPool Account
To register for an OSPool account, submit an application using the following steps:
-
Go to the account registration page. You will be redirected to the CILogon sign in page. Select your institution and use your institutional credentials to login.
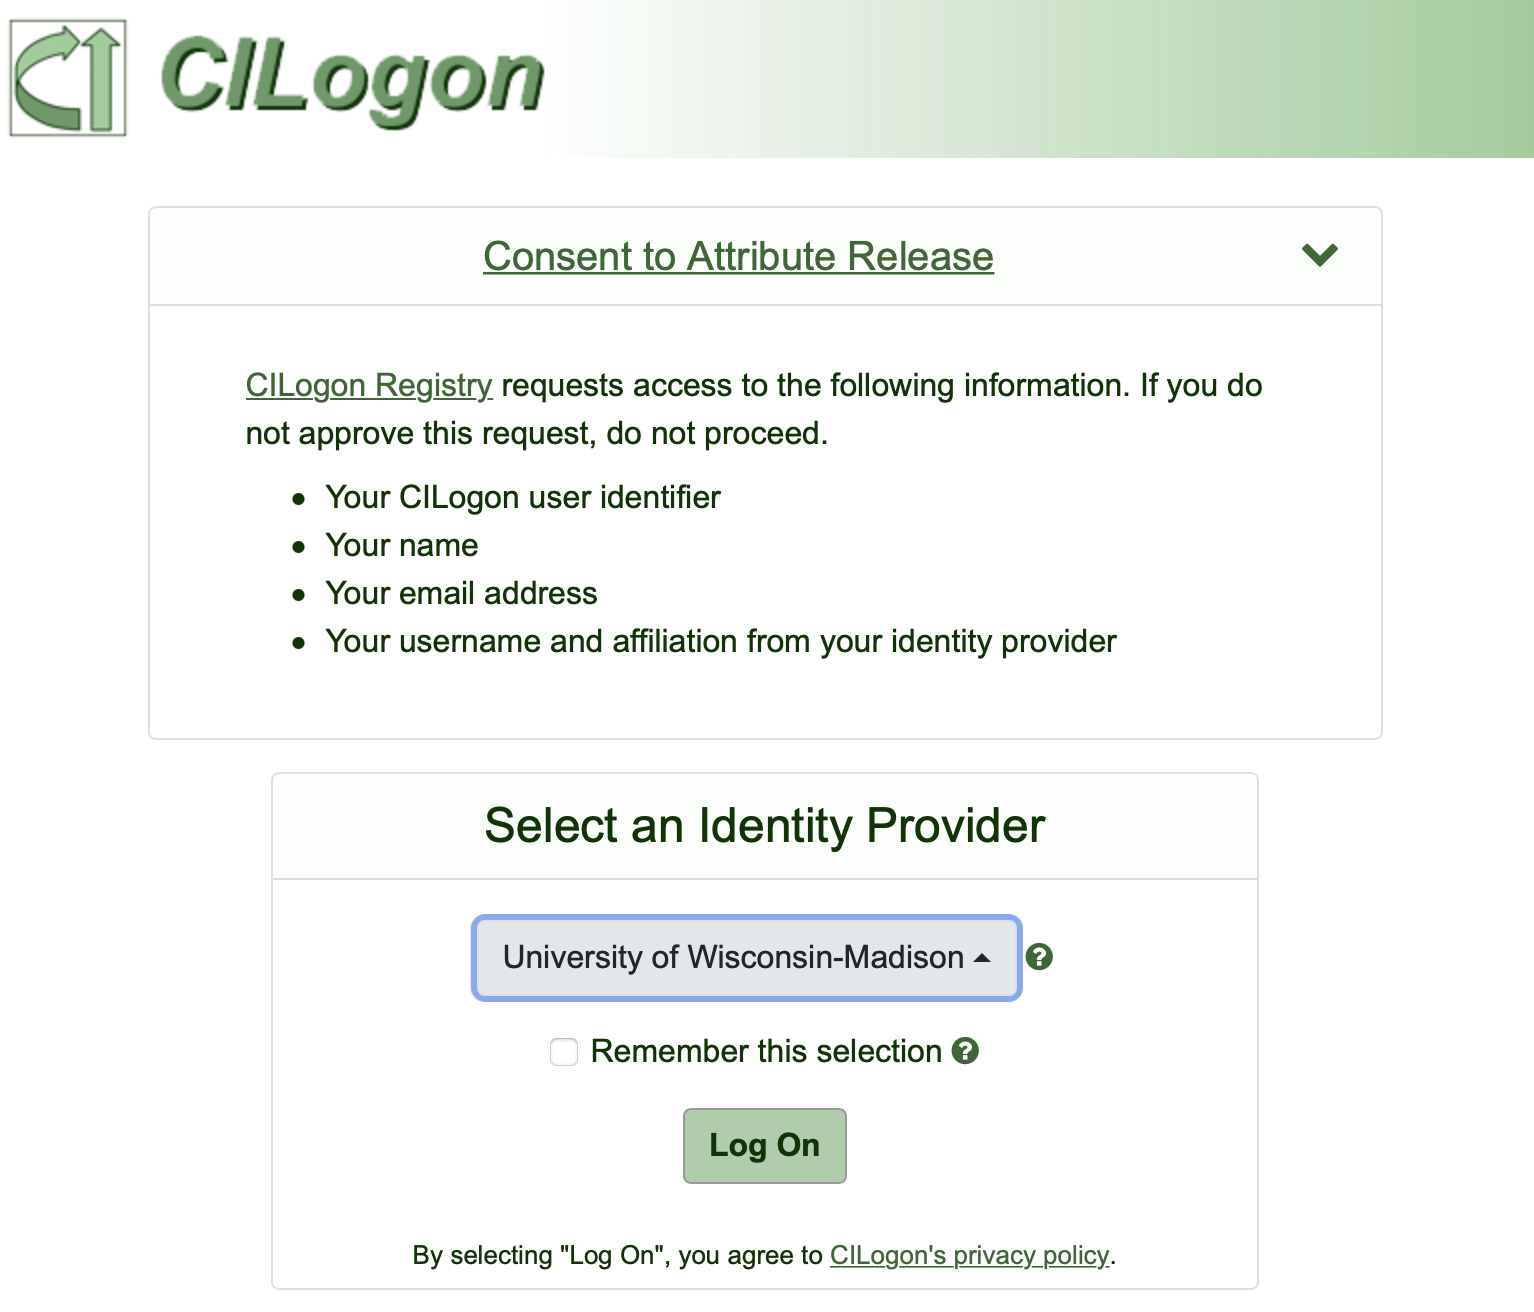
If you have issues signing in using your institutional credentials, contact us at [email protected].
-
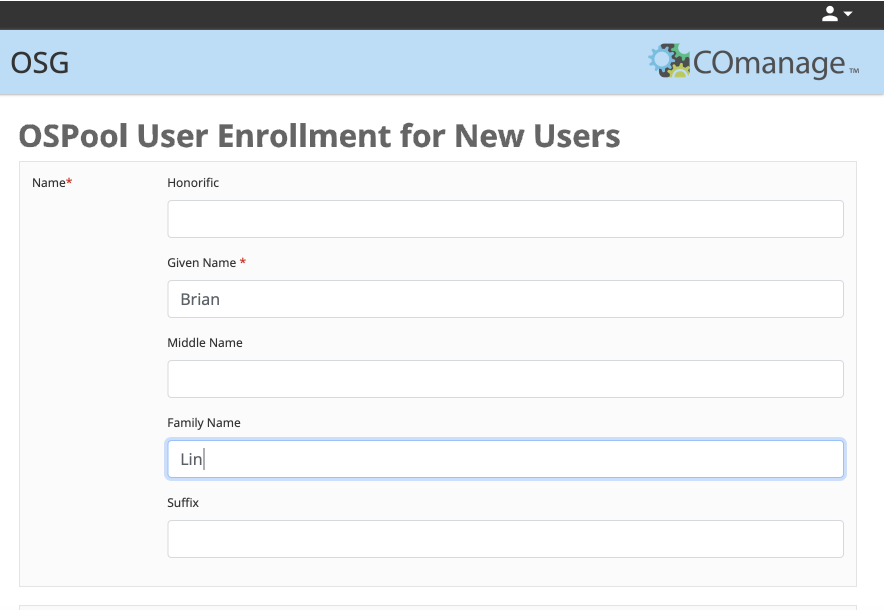
Once you sign in, you will be redirected to the “OSPool User Enrollment for New Users” page. Click “Begin” and enter your name, and email address in the following page. In many cases, this information will be automatically populated. If desired, it is possible to manually edit any information automatically filled in. Once you have entered your information, click “SUBMIT”.
-
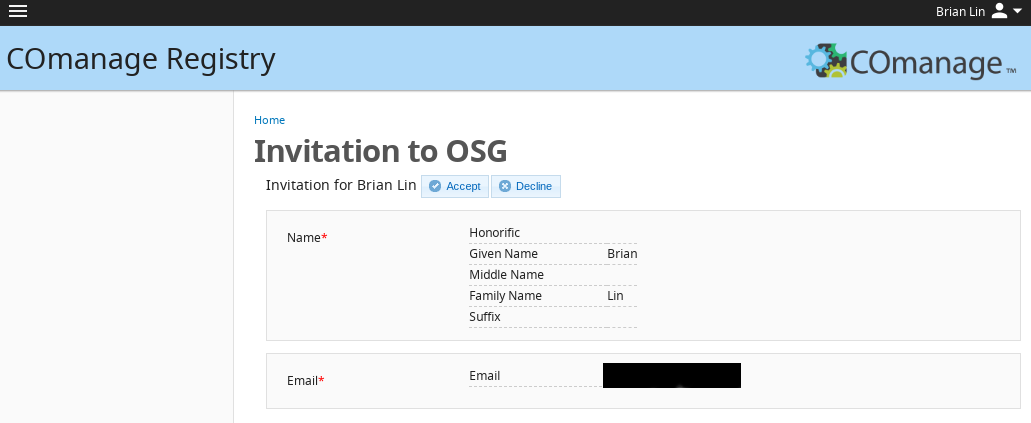
After submitting your application, you will receive an email from [email protected] to verify your email address. Click the link listed in the email to be redirected to a page confirm your invitation details. Click the “ACCEPT” button to complete this step.
Meet with a Research Computing Facilitator
Once OSG staff receive your email verification, a Research Computing Facilitator will contact you within one business day to arrange a short consultation and introduction to OSPool resources. During this meeting, our staff will provide personalized start-up guidance per your specific computational research goals and activate your account.
Following the meeting, the Facilitator will approve your account, add your profile to any relevant projects, and ensure that you have access to an OSPool access point. (You will receive automated emails for some of these actions, which you can otherwise ignore.)
Login
Once your account has been added to an access point, you will be able to log in using a terminal or SSH program. Logging in requires authenticating your credientials using one of two options: web authentication or SSH key pair authentication. Additional information on this process will be provided during or following your meeting with a Research Computing Facilitator.
Option 1: Login via Web Authentication
Logging in via web authentication requires no preparatory steps beyond having access to an internet browser.
To authenticate using this approach:
-
Open a terminal and type
ssh [email protected], being sure to replaceusernamewith your OSPool access point username. Upon hitting enter, the following text should appear with a unique, but similar, URL:Authenticate at ----------------- https://cilogon.org/device/?user_code=FF4-ZX6-9LK ----------------- Type 'Enter' when you authenticate. -
Copy the
https://link, paste it into a web browser, and hit enter. -
You will be redirected to a new page where you will be prompted to login using your institutional credentials. Once you have done so, a new page will appear with the following text: “You have successfully approved the user code. Please return to your device for further instructions.” NOTE you will need to authenticate with the same identity you used to create your account; if you signed up via ORCID and login via your University account, then the login will fail.
-
Return to your terminal and hit ‘Enter’ to complete the login process.
Option 2: Login via SSH Key Pair Authentication
It is also possible to authenticate using an SSH key pair, if you prefer. Logging in using SSH keys does not require access to an internet browser to login into the access point, ap7.ospool.osg-htc.org.
The process below describes how to upload a public key to the registration website. It assumes that a private/public key pair has already been generated. If you need to generate a key pair, see the “Step 1: Generate SSH Keys” section of this OSG guide.
-
Return to the Registration Page and login using CILogon if prompted.
-
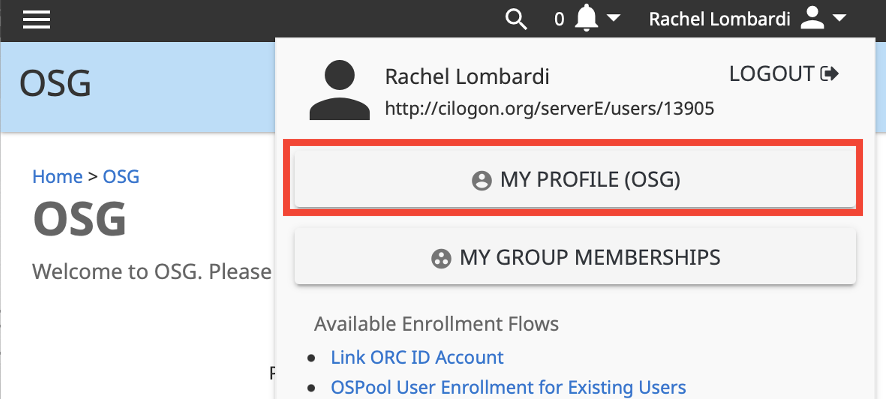
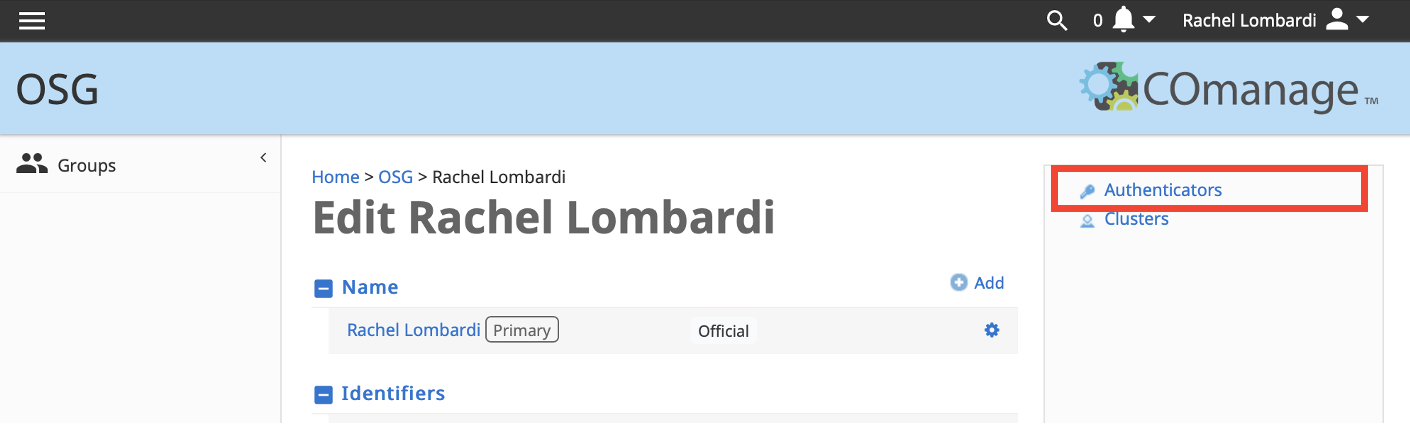
Click your name at the top right. In the dropdown box, click “My Profile (OSG)” button.
-
On the right hand side of your profile, click “Authenticators” link.
-
On the authenticators page, click the “Manage” button.

-
On the new SSH Keys page, click “Add SSH Key” and browse your computer to upload your public SSH key.

Get Help
For questions regarding logging in or creating an account, contact us at [email protected].